

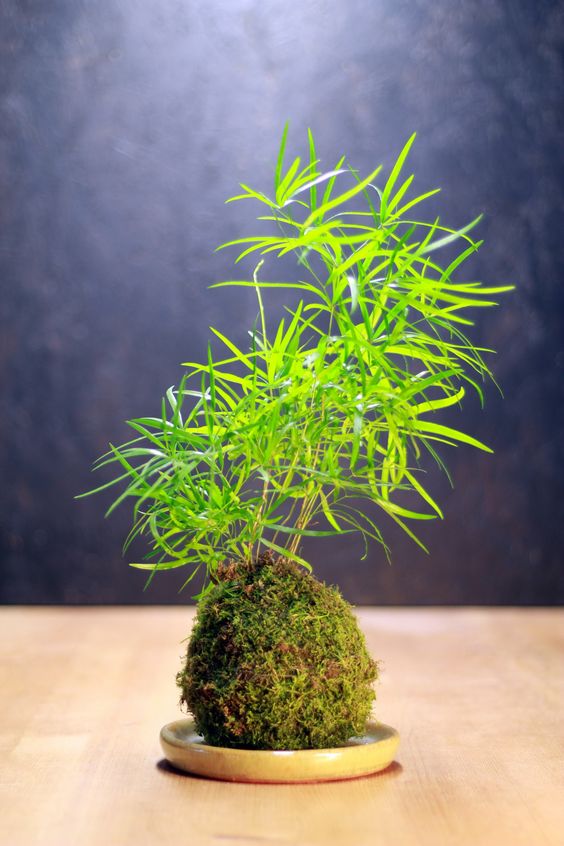
The Kokedama is the new trend in plants inside. It is original, fresh, versatile and can be adapted to any environment, creating a harmony of colors and shapes. The Kokedama bonsai appears to fly or to be suspended in the air by the use of transparent cables or wires. While the classic bonsai is equipped with a container, the Kokedama has none.
How to make a Kokedama with your own hands?
The new fashion in home gardening is that the garden has to be floating. This is achieved with several Kokedama suspended live or in the atriums and, with its simple presence, it will provide all kinds of environment. Although we have to work a bit with our hands, we can finally have an authentic zen garden in the house. We just need some specific clay, moss and bonsai plants.
The homemade Kokedama that we will see next, is made quite simply. Common soil, moss and some nylon threads are some of the essential ingredients to make one of the most charming flower arrangements ever.
Steps to create a normal Kokedama.
- First of all, we are going to need a fairly large container. In this container we will place a good amount of artificial, natural soil and the correct amount of crushed pumice.
- We sufficiently mix the various elements inside the container, until we obtain a homogeneous compound that is soft to the touch. We cover the work surface with non-stick paper.
- Once the compound is obtained, it is advisable to carry out the transplant. We can use the seedlings or flowers that we want to incorporate into the small sphere of earth.
- We carefully wrap the small portion of mixed soil in a sheet of permeable and non-stick paper.
- Place a generous portion of clean and disinfected moss on the surface. We can get it in the forest or in a nursery specialized in flower plants.
- We proceed to create the layer of moss by pressing gently, taking care to remove the healthy filaments from the cubes. The moss must be immune to the presence of insects or parasites.
- We have finished the piece of land in which we transplanted the seedling. Always remember that the layer of moss applied to the sphere must also have a good decorative appearance. In addition, it has a protective function for the root system of plants.
- We are going to place the molded sphere in a perpendicular position with respect to the support surface.
- We will also make sure that the entire surface of the ball is moist, well drained and sufficiently covered with moss.
Kokedama as miniature bonsai.
Kokedama can be smaller and bear a strong resemblance to Japanese bonsai. The guide to follow step by step is analogous to the previous one, if it were not for the innovative use of a bottle at the bottom of the composition.
- We place permeable paper in a bowl, we proceed to place the plant and fill the bowl with very moist soil.
- We proceed to wrap the mixture tightly, wrapping it with a sufficient amount of permeable paper.
- Using a thread that can be nylon or cotton, we tie the permeable paper to the well-molded block of soil and roots. We must make sure that the cable gets to hold around the neck of the plant.
- We arrange the paper, leaving small open holes at the bottom. These holes can be made by punching several times using a piece of wire. Thus, the earth at the base will have a way to ventilate.
- We let the mixture rest for a few minutes.
- We proceed to cover the surface using the moss again and taking care not to leave spaces uncovered.
- We place the sphere in a container with water, to moisten and adhere well to the moss.
- We reshape the sphere by compressing it with our hands to drop excess water and moss.
- With the help of a kitchen knife we reshaped the shape and compact size of the Kokedama.


